The best way to organize photos from large events is by establishing a strict pre-event folder hierarchy and synchronizing camera timecodes before shooting begins. Post-event, photographers must utilize fast culling software and deploy facial recognition tools. This creates automated, searchable client galleries that eliminate manual sorting and drastically reduce post-production time.
The Scale of Event Photography
Event photography produces an overwhelming volume of digital data. A multi-day corporate conference or a large music festival can easily generate upward of 10,000 RAW files. Managing this massive volume requires much more than just a large external hard drive.
It demands a highly systematic approach to digital asset management. Without a rigid organizational framework, photographers risk delayed delivery times, frustrated clients, and potential data loss. Industry data suggests that culling and sorting account for nearly 60 percent of an event photographer’s post-production time.
Optimizing your backend workflow is the only way to scale your photography business. When you organize event photos efficiently, you reclaim hours of lost time. This guide breaks down the exact technical workflow required to handle massive image counts securely and swiftly.
Pre-Event Hardware Preparation
One of the most important steps is synchronizing the internal clocks on every camera body you plan to use. This includes the cameras of your second shooters and assistants.
If your timestamps are significantly out of sync, photos from different cameras can appear in the wrong chronological order. Synchronized timecodes allow you to ingest files from five different cameras and create a much more accurate timeline of the event. Even a few seconds of difference can matter when multiple photographers are shooting simultaneously. This simple preparation can save hours of manual sorting and time adjustments later.
Additionally, format your memory cards in-camera rather than routinely deleting files on your computer. In-camera formatting creates a clean file structure that the camera is designed to use. It does not guarantee against corruption, but it is generally good practice when preparing a card for reuse. Always make sure important files are safely backed up before formatting.
Ingestion and Backup Protocols
Once the event concludes, data ingestion should follow a careful and repeatable workflow. Avoid editing directly from the memory card. Instead, use a reliable high-speed card reader to copy the files to dedicated local storage, such as a workstation drive, SSD, or Network Attached Storage system.
Professional workflows often follow the 3-2-1 backup rule for data protection: maintain at least three copies of your data, stored on two different types of media, with at least one copy kept offsite. A practical setup might involve storing the primary files on a local or RAID-enabled NAS system while maintaining a separate backup in the cloud or at another physical location. RAID can provide redundancy, but it should not be treated as a backup by itself.
Folder structures at this stage should be consistent and easy to understand. A standard naming convention helps with long-term organization and archiving. Use the format “YYYY-MM-DD_ClientName_EventName” for the parent folder, then create subfolders for RAW, CULLED, EDITS, and EXPORTS.
High-Speed Culling Strategies
You can organize photos from large events using standard editing software like Lightroom, but dedicated culling software can make the initial review much faster. Some culling programs are optimized to display the embedded JPEG previews within RAW files, reducing the need to generate full RAW previews during the first pass and helping speed up the selection process.
Programs designed specifically for culling allow you to rate, tag, and reject images quickly. A useful approach is positive culling: identify the images you want to keep while moving past obvious misfires, duplicates, and out-of-focus shots. This can make the first pass faster without requiring you to evaluate every image in detail.
Once you have narrowed the collection to your strongest images, you can transfer the ratings, flags, or selections to your main editing software. This keeps the detailed editing workload manageable and reduces the number of images that require full-resolution processing. However, there is no fixed “top 10 percent” rule; the final selection depends on the event and the photographer’s requirements.
Structuring the Final Export
When it is time to export the final JPEGs, your folder structure should reflect the client’s experience. Dumping 800 polished photos into a single folder can make browsing unnecessarily difficult. Instead, break the day down into logical, easily digestible chapters that make it easier for the client to find and enjoy their images.
For a wedding, this might mean creating subfolders for Getting Ready, Ceremony, Portraits, and Reception. For commercial events, organize images by day, session name, location, or specific sponsor activation, depending on how the client plans to use the photographs.
Pay close attention to your export settings during this phase. You may want to provide two versions of the final images: a high-resolution set suitable for printing and a web-sized set optimized for faster online sharing. However, confirm the client’s delivery requirements first, since many modern galleries automatically generate web-friendly versions from the uploaded high-resolution files.
Transitioning to AI and Facial Recognition
The modern landscape of photo sharing at large events has fundamentally shifted toward artificial intelligence. Traditional folders are helpful, but they still require users to scroll through hundreds of images to find themselves. This manual searching causes a massive drop in client engagement and gallery click-through rates.
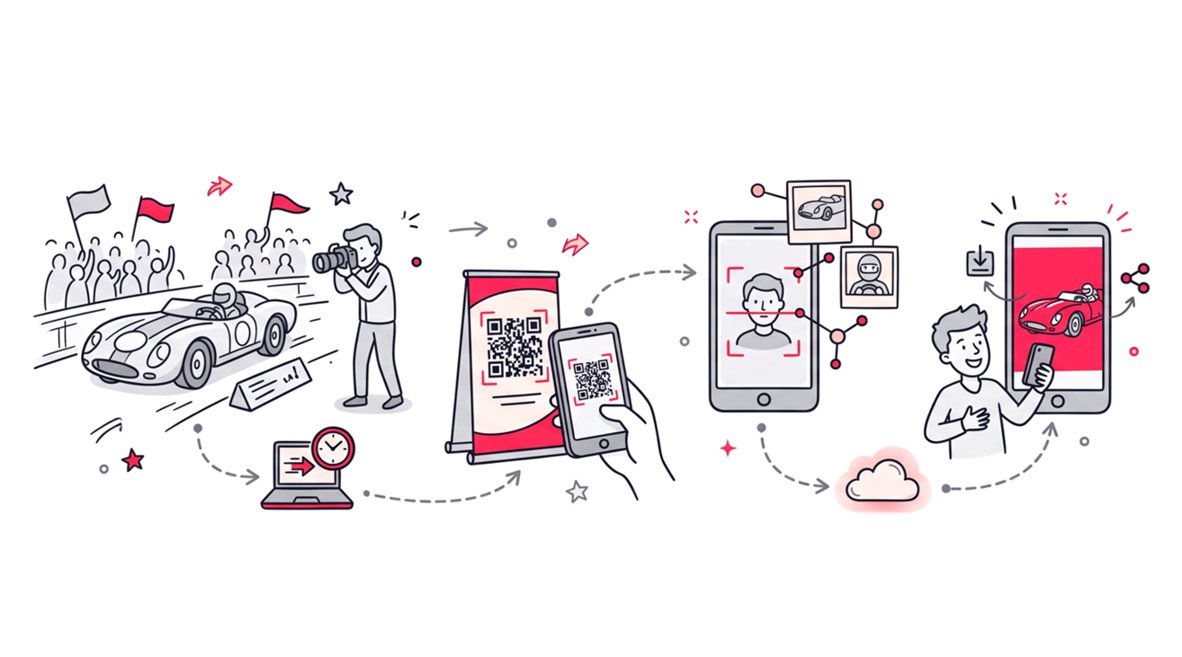
Attendees expect instant gratification. They want to upload a selfie and have a system instantly aggregate every photo they appear in. This is where AI-driven facial recognition completely replaces manual organization for the end user.
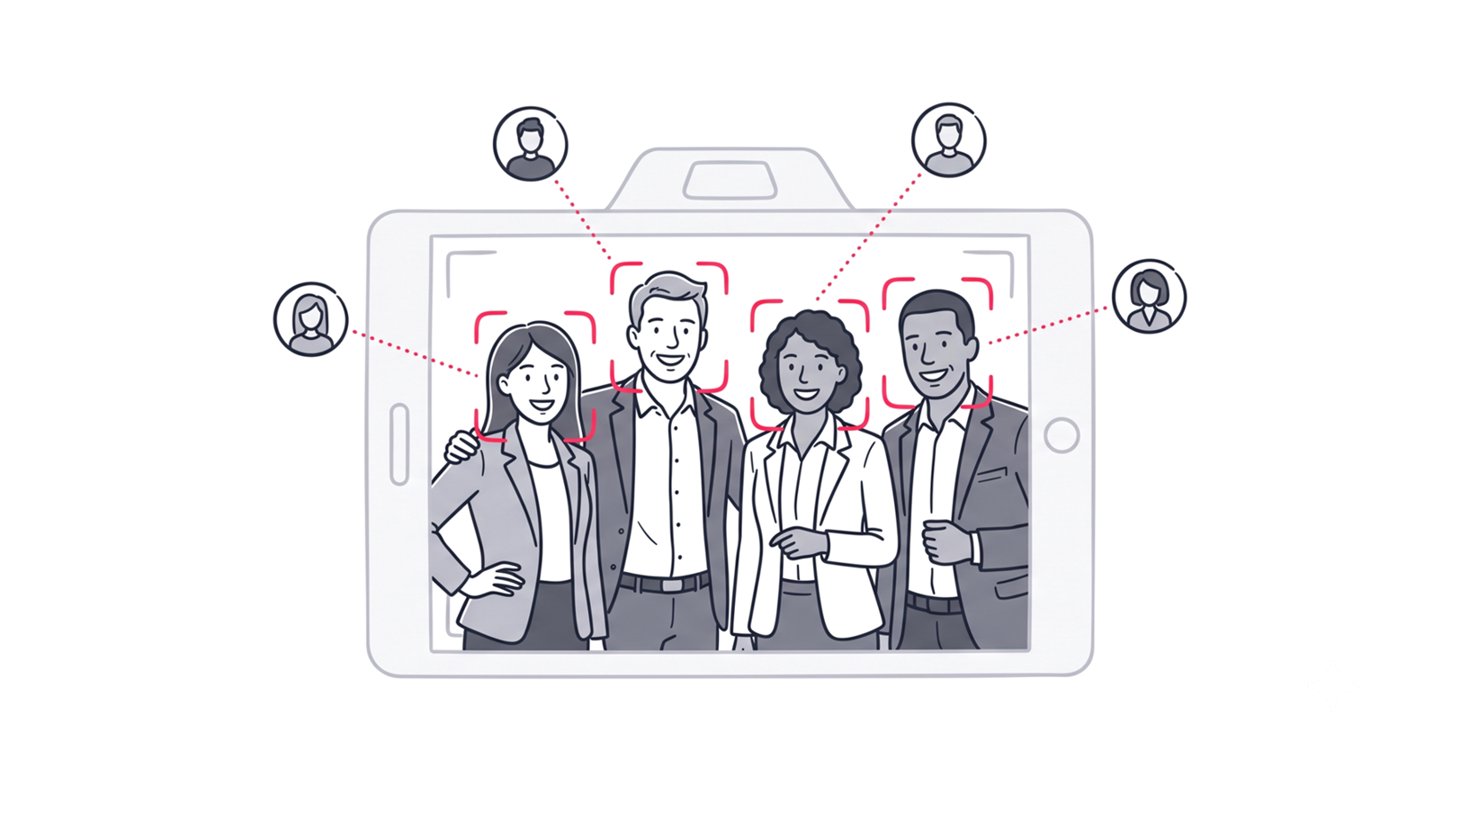
By using an AI-powered platform, the photographer only needs to upload a single, massive folder of edited images. The software automatically scans, indexes, and tags every face in the crowd. The organizational burden is completely lifted from both the photographer and the event host.
Comparing Organizational Workflows
To understand the sheer advantage of modern technology, we must compare the older manual methods with current automated systems. The table below outlines the stark differences in workload and client experience.
| Workflow Metric | Traditional Organization | AI-Powered Organization |
|---|---|---|
| Initial Sorting | Manual folder creation by phase | Single bulk upload |
| Client Searching | Scrolling through hundreds of files | Instant facial recognition matching |
| Tagging Speed | Hours of manual metadata entry | Automated indexing upon upload |
| Delivery Time | Days or weeks post-event | Same-day or next-day availability |
| User Engagement | Low retention, high bounce rate | High interaction, faster downloads |
This table clearly illustrates that software automation is no longer a luxury. It is a strict requirement for professionals handling massive data loads.
Automating the Client Experience
When you organize event photos for a client, the final step is access management. You need a platform that handles privacy without creating friction for the users. Password-protected galleries are standard, but they often lead to support emails from attendees who lost the login details.
A smarter approach involves using QR codes stationed at the event exit or projected on screens. Attendees simply scan the code, upload a quick selfie, and let the backend servers find their specific images. This eliminates the need for complex folder navigation entirely.
This workflow not only protects privacy by ensuring guests only see photos they are featured in, but it also creates a highly personalized experience. The technology works in the background, allowing the photographer to focus on shooting rather than tech support.
FAQ
What is the most important step before shooting a large event?
The most critical step is synchronizing the time and date settings across all camera bodies being used. This ensures all files sort perfectly in chronological order during post-production.
How to tag event photos efficiently?
Using AI-powered facial recognition software like SnapSeek is the most efficient way to tag event photos. The platform automatically scans and groups every face in the photo album into individual galleries for each guest. Guests also get the option to tag their own photos for enhanced personalization.
Why should I use facial recognition for event photo sharing?
Facial recognition eliminates manual searching for guests, allowing them to instantly find photos of themselves. This drastically increases engagement and reduces delivery time.
What is the 3-2-1 backup rule for event photos?
It is a data protection strategy where you keep three copies of your photos, on two different types of storage media, with at least one copy stored offsite or in the cloud.
Conclusion
Mastering the best way to organize photos from large events requires a blend of disciplined hardware preparation and advanced software integration. By syncing timecodes, utilizing fast culling tools, and using AI photo tagging, you can handle massive file counts with ease. The ultimate goal is to eliminate manual sorting and get your images in front of the attendees as quickly as possible.
To completely automate your distribution and wow your clients with facial recognition technology, integrate SnapSeek into your workflow today. SnapSeek removes the friction of manual folder sorting, delivering personalized galleries to every guest instantly.