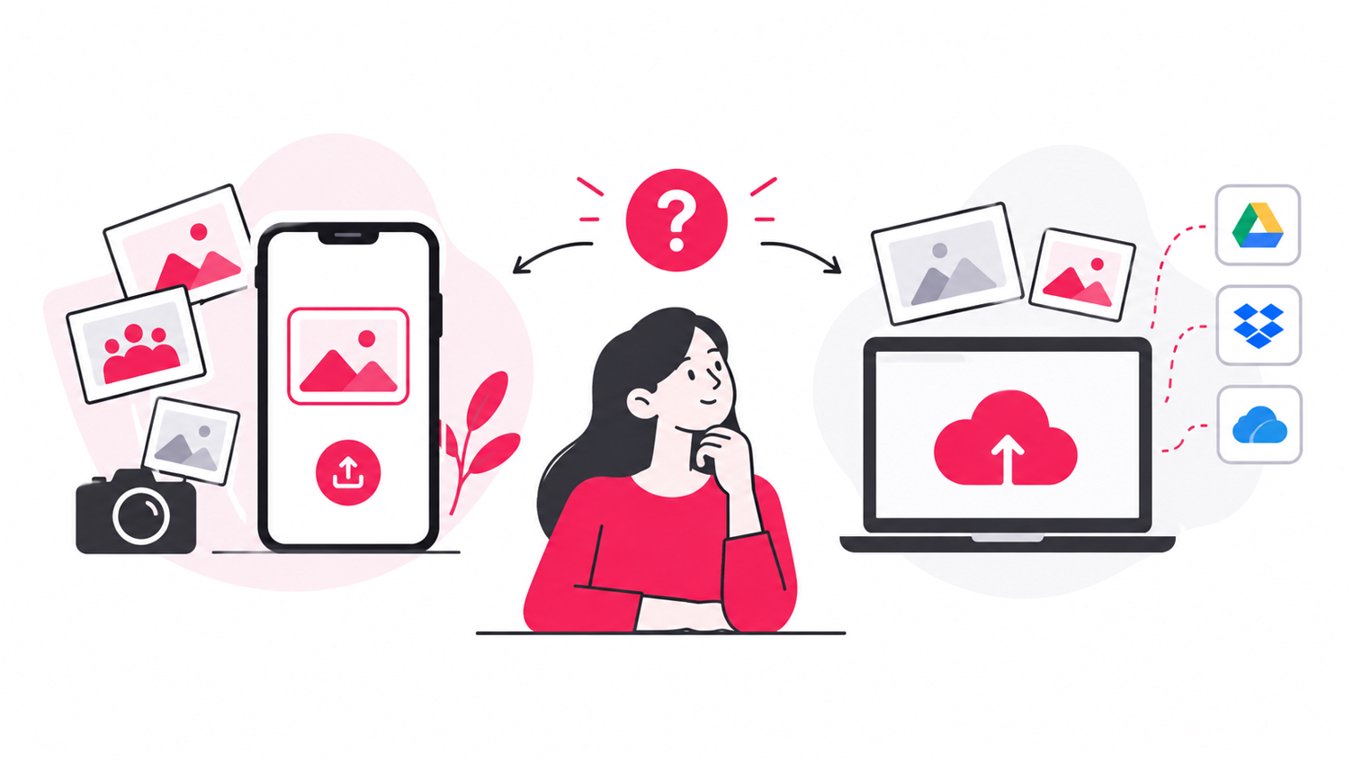
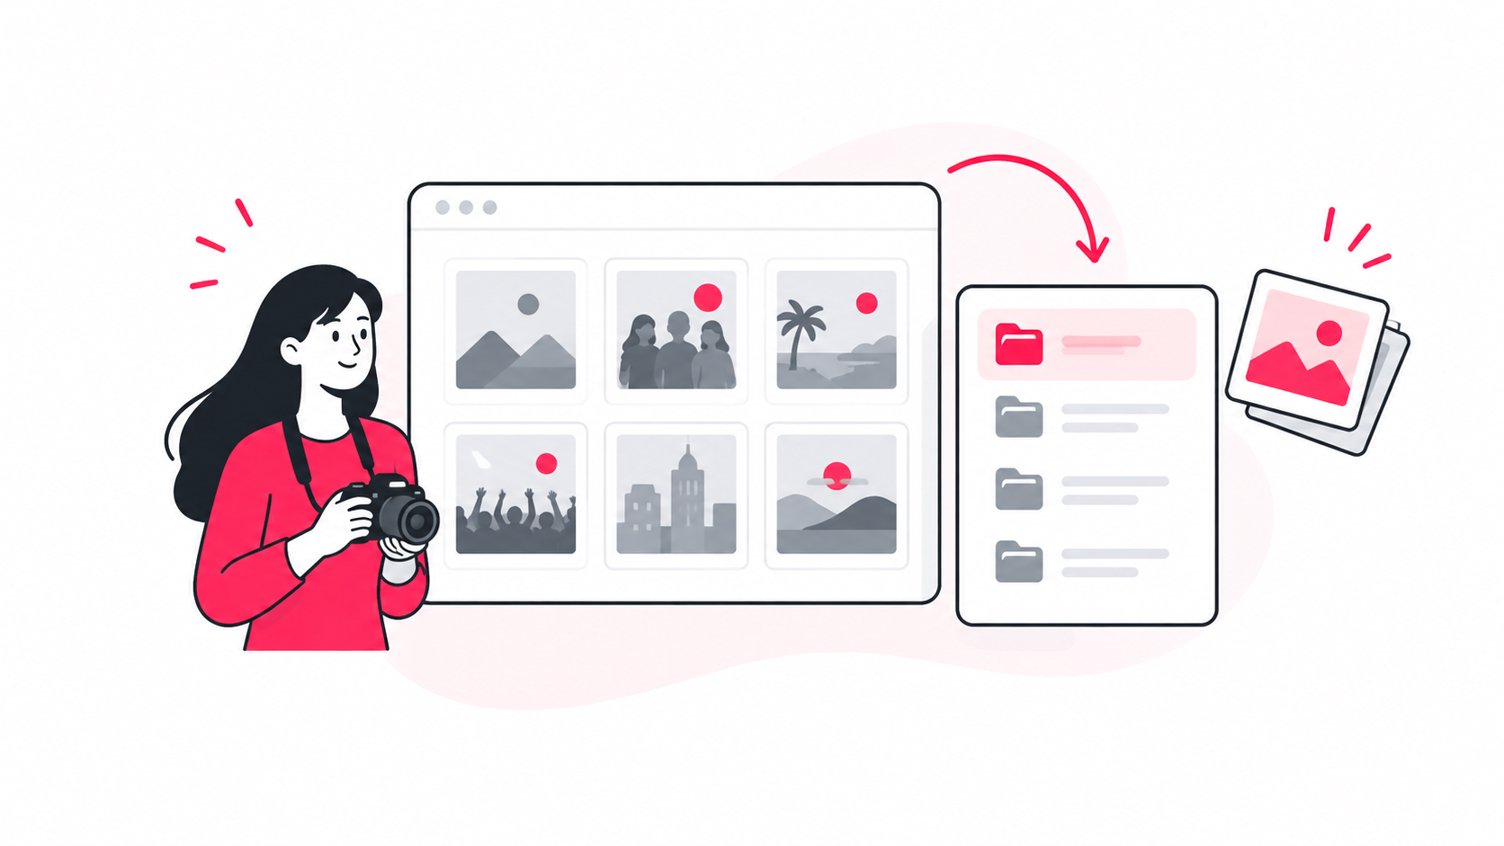
To create an event highlights folder with SnapSeek, first curate a small set of your best edited images, then place them in a dedicated SnapSeek collection or gallery. Share that collection using its link or QR code. This gives guests, clients, and event teams a quick way to access the most important moments without searching through the full event gallery.
A highlights gallery is useful for wedding previews, conference recaps, tour photo selections, sponsor assets, and social media picks. The key is to treat it as a carefully edited selection, not simply another place to dump every image.
What Is an Event Photo Highlights Folder?
A highlights folder is a curated set of photographs that tells the story of an event at a glance. Instead of making people browse a complete gallery, you give them a focused collection of standout moments.
Depending on your workflow, highlights might include:
- The best portraits and candid moments.
- Key speakers, award presentations, and audience reactions.
- A tour group at major landmarks or activities.
- Sponsor activations, branded installations, and networking.
- A short selection approved for social media or internal communications.
A highlights folder is different from a full event gallery. The full gallery is the complete delivery; the highlights set is the quick edit that helps people see the most useful images first.
See how to deliver wedding photo sneak peeks with SnapSeek.
Why Create a Highlights Gallery on SnapSeek?
SnapSeek is designed for online event photo sharing. Hosts upload images, then share the collection through a link or QR code. Guests can open it in a browser, without installing a separate app or creating an account just to view the gallery.
A dedicated highlights collection can make that workflow clearer in several ways.
Give guests a faster starting point
A large event gallery can contain hundreds or thousands of photos. A short highlights selection helps guests and organizers get to the headline moments first, while the complete collection remains available for people who want to browse further.
Make client review easier
Clients often need a small group of images for a recap email, website update, internal presentation, or social post. A curated set keeps review focused and reduces the chance that the team will overlook the strongest frames.
Share different selections with different audiences
A conference organizer may need speaker portraits and sponsor activations, while attendees may want candid photos. Tour operators may prefer a selection that shows the experience and major stops. Separate collections, where available in your SnapSeek workflow, can help keep these purposes distinct.
Keep photo discovery simple
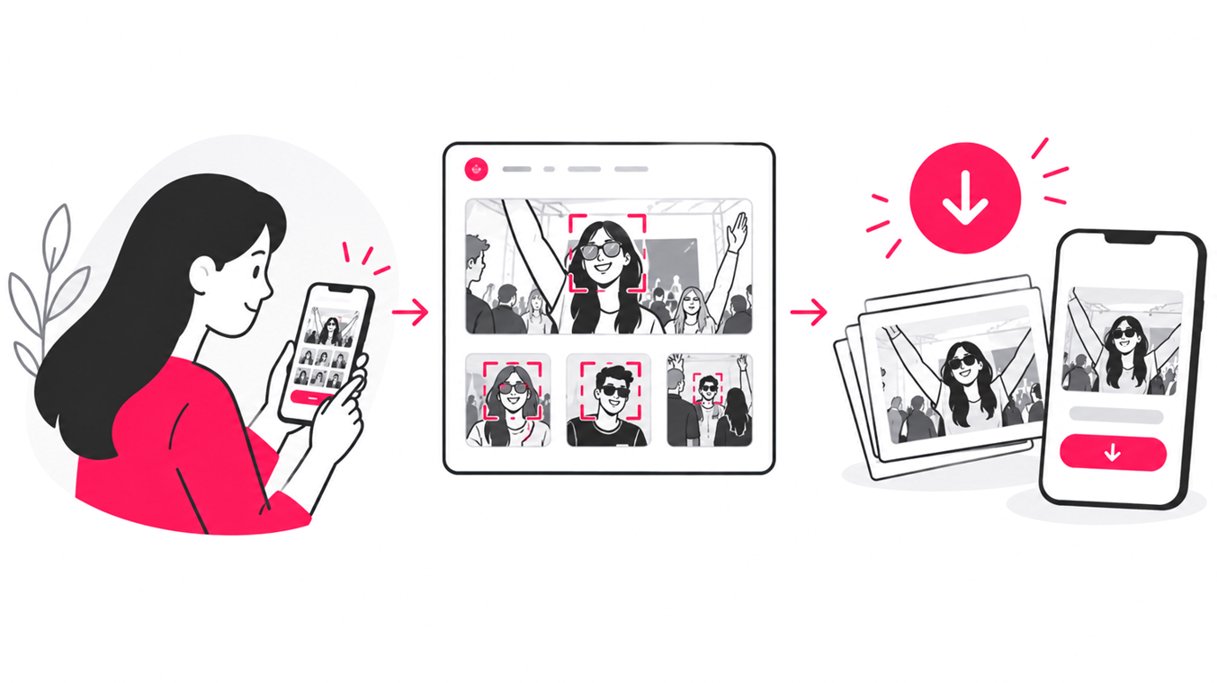
SnapSeek’s face-recognition search can help guests find photos of themselves in supported event galleries. A highlights selection serves a different purpose: it gives everyone a concise editorial overview of the event. Use each approach for what it does best.
For a broader overview of guest discovery, see How to Find Your Photos From an Event.
How to Create a Highlights Folder on SnapSeek
Use the workflow below as a practical way to build a highlights set.
Step 1: Select the purpose of the highlights
Before you export or upload anything, decide who the highlights are for and what they need to do.
For example:
- Wedding highlights: ceremony, couple portraits, family moments, reception, and dancing.
- Corporate event highlights: keynote speakers, panels, networking, award moments, and sponsor visibility.
- Tour highlights: destination views, group experiences, activities, and memorable stops.
- School or camp highlights: approved activity photos that families can browse easily.
- Brand activation highlights: branded experiences, product interactions, and approved promotional images.
A clear purpose makes selection faster and gives the collection a consistent story.
Step 2: Cull and edit the images first
Choose the strongest images before you create the shareable selection. Remove accidental frames, near-duplicates, test shots, and images that are not approved for distribution.
A useful starting point is to ask three questions about every image:
- Does it tell an important part of the event story?
- Is it technically strong and consistent with the rest of the set?
- Is it appropriate for the people and channels that will receive it?
There is no universal ideal number of highlight photos. A small private dinner may need only a few dozen images, while a multi-day conference may need a larger selection. Let the event size, client brief, and intended use determine the count.
Step 3: Create a dedicated SnapSeek collection if needed
If you want highlights to have their own shareable destination, create a separate collection in SnapSeek. Give it a clear name, such as:
- Company Summit | Highlights
- Smith Wedding | Preview
- Banff Tour | Best Moments
- Product Launch | Approved Images
Keep the highlights organized in your normal editing and export workflow, then use the collection options available in SnapSeek.
Step 4: Upload only the approved highlight images
Upload the selected, edited files to the intended highlights collection. Review the gallery after upload to make sure the correct images are present and display as expected.
Before sharing, check:
- Image orientation and crop.
- Export quality and file consistency.
- Duplicate or accidental uploads.
- Whether the selection includes any image that should remain private.
- Whether the client has approved the photos for the intended audience.
SnapSeek is a photo-sharing workflow, not a substitute for your original archive. Keep your master files and backups in your usual storage system.
Step 5: Set access preferences
Review the collection’s available privacy and guest settings before distributing the link. SnapSeek supports options such as password protection and controls over whether guests can browse all photos or see only matched photos, depending on the collection setup.
Choose settings based on the event and the audience. A public-facing brand recap and a private school event have different requirements. For events involving children, sensitive workplaces, or confidential clients, confirm permissions with the organizer before sharing any images.
Step 6: Share the highlights link or QR code
Once the selection is ready, share its link with the people who need it. A QR code can be useful at an event venue, on printed materials, or in a follow-up message. For a post-event delivery, include one sentence explaining what the gallery contains and who it is intended for.
For example: “We’ve selected the key moments from the conference in this highlights gallery. Open the link to view and download the approved images.”
If you’re building a branded experience, SnapSeek’s guide to creating a branded online event photo gallery covers ways to make a gallery feel consistent with an event or organization.
Step 7: Review the collection after sharing
Check that the link opens correctly on a phone and desktop. If the client requests a correction, update the selection or access settings as appropriate, then confirm the revised gallery is ready.
For longer events, establish a simple naming convention and decide who is responsible for approving new highlight images. That small bit of planning prevents multiple versions from circulating.
Highlights Folder vs. Full Event Gallery
| Need | Highlights collection | Full event gallery |
|---|---|---|
| Main purpose | Show the most important moments quickly | Provide the broader event photo delivery |
| Image selection | Curated and selective | More comprehensive, after culling and approval |
| Best audience | Clients, marketing teams, sponsors, guests seeking a quick recap | Attendees and clients who want to explore the event |
| Common uses | Recap emails, social content, presentations, previews | Complete event memories and individual photo discovery |
| Maintenance | Update when key images are approved | Maintain as the main collection of delivered photos |
The two formats work well together. Highlights are the front door; the full gallery remains the deeper archive for browsing and discovery.
Practical Tips for Better Event Highlights
Keep the selection intentional
Do not choose images only because they are visually dramatic. Include a balanced mix of people, atmosphere, key activities, venue details, and moments that reflect the event’s purpose.
Use consistent file names before upload
A consistent naming convention helps your team manage exports locally. For example, use “EventName_Highlight_001.jpg” or “TourName_StopName_001.jpg”.
Separate approved images from working edits
Keep raw files, unfinished edits, client-review images, and approved highlights in clearly named folders in your editing or storage system. Upload only the files intended for sharing.
Make the next step obvious
When sharing the highlights link, tell recipients whether they can download the images, whether the collection is intended for public sharing, and whom to contact about corrections. Clear instructions reduce unnecessary follow-up.
For more ideas on reducing friction in event delivery, read SnapSeek’s guide to zero friction event photo sharing.
How Highlights Fit Into a Modern Photo-Sharing Workflow
A reliable workflow separates image selection, storage, and distribution.
| Stage | What to do | Why it matters |
|---|---|---|
| Capture | Photograph the event as planned | Creates the source material |
| Cull and edit | Remove duplicates and polish the strongest frames | Protects quality and consistency |
| Curate | Select highlights for a specific audience | Makes the story easier to scan |
| Upload | Add approved images to the appropriate SnapSeek collection | Creates a browser-accessible destination |
| Configure | Review privacy and guest settings | Aligns access with the event’s needs |
| Share | Send a link or QR code | Makes the collection easy to reach |
| Maintain | Correct, update, or remove images when needed | Keeps the delivery accurate |
This workflow does not require a complicated content-management system. The biggest gains often come from making the selection and approval process clear before the gallery is shared.
FAQ
Can I create a separate highlights folder on SnapSeek?
You can create a dedicated highlights destination by using a separate SnapSeek collection and uploading a curated selection of your images to it.
Why should I make a highlights gallery instead of sharing every photo?
A highlights gallery gives clients and guests a faster way to see the strongest moments. It is especially useful for event recaps, social content, sponsor selections, and quick previews, while the full gallery can remain available for broader browsing.
Can I share a SnapSeek highlights gallery with a QR code?
SnapSeek supports sharing collections through links and QR codes. A QR code is convenient for event signage, table cards, registration areas, and printed materials, while a direct link works well in emails and messages.
Do guests need to download an app to view the gallery?
No app download is required for guests to open a SnapSeek gallery in a web browser.
Should I upload raw photos to the highlights collection?
No. Cull and edit the images first, then upload the approved exports intended for sharing. Keep raw files and master edits in your regular archive and backup workflow.
Can a highlights gallery replace face-recognition photo search?
Not exactly. A highlights gallery is a curated editorial selection, while face-recognition search helps guests locate photos they appear in. The two approaches solve different problems and can complement each other.
Conclusion
A well-organized highlights gallery makes event photo sharing easier for photographers, planners, clients, and guests. Curate the strongest images, use a clearly named collection where available, review access settings, and share the link or QR code with a short explanation.
Keep your full archive separate, confirm image permissions, and make the highlights selection serve a clear purpose. With SnapSeek, you can give people a simple way to access event photos online without making them work through an overwhelming gallery.