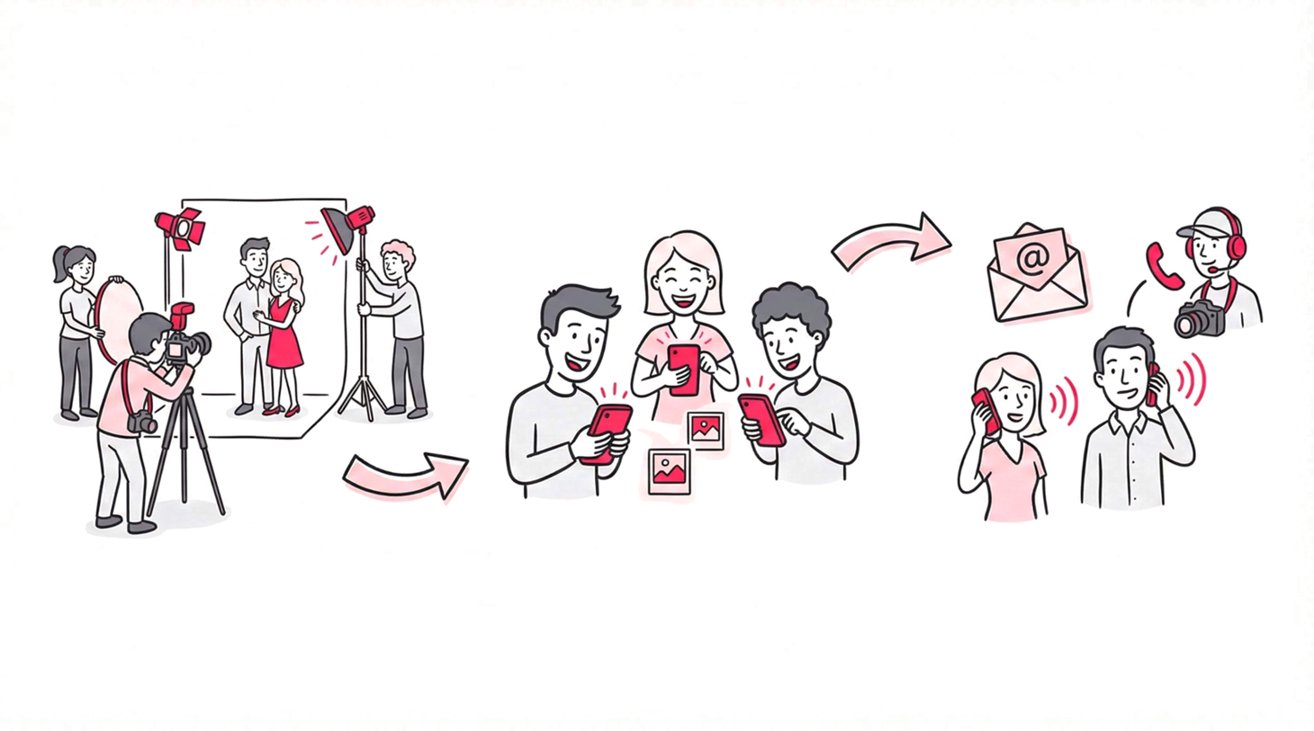
When you capture a wedding or corporate gala, not every shot is meant for the same audience. Some images are intimate moments reserved for the couple, while others are perfect for sharing with every guest. Balancing these privacy levels can feel like a juggling act. You want to deliver a seamless experience for huge crowds without compromising the privacy of your VIP clients. With the right workflow and tools, you can streamline the process, protect sensitive images, and keep every stakeholder thrilled.
Why Privacy Matters in Event Photography
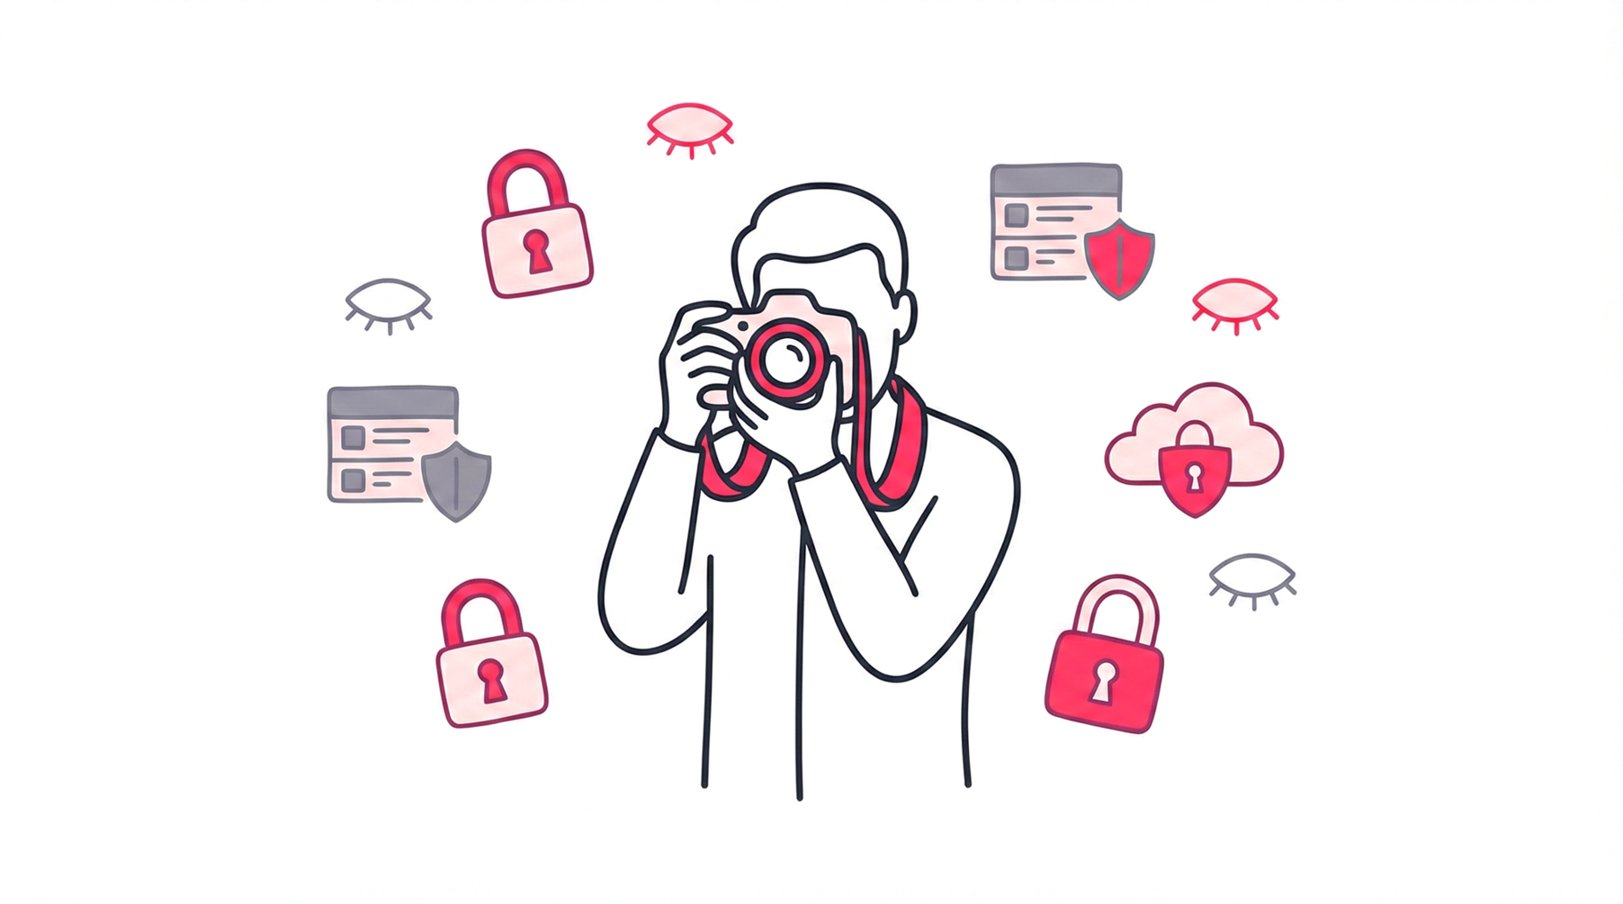
Privacy isn’t just a “nice-to-have” feature; it is often a legal and ethical requirement, especially in high-stakes event photography. Clients expect you to protect their private moments with the same care you take to capture them.
The “VIP” Factor
Consider a high-profile corporate event. The keynote speaker might be unveiling a product that is under embargo, or perhaps there are VIP guests who strictly prohibit their photos from being posted on social media. If you dump all these photos into a single public gallery, you risk violating non-disclosure agreements or damaging your professional reputation.
The “Intimacy” Factor
In weddings, the stakes are emotional. A bride’s quiet glance during the ceremony, a tearful moment with a parent, or a child’s first dance are moments that are precious to the family but might feel invasive if shared with 300 distant relatives or corporate colleagues.
The “Public” Needs
At the same time, privacy shouldn’t mean friction. The general attendees want to see their photos - group shots, candid laughter, and venue highlights - without jumping through hoops. If you lock everything down too tight, you lose the viral potential of the event.
This balance is why a “one-size-fits-all” gallery no longer works. You need a system that adapts to different audiences within the same event.
SnapSeek’s Multi-Collection Architecture
SnapSeek was built with privacy flexibility at its core. Unlike traditional platforms that force global settings on an entire event, SnapSeek lets you create multiple collections for the same event, each with its own independent settings.
This architecture allows you to create specific silos:
- Collection A (Couple-Only): High privacy, full access for two people.
- Collection B (VIPs): Medium privacy, password-protected.
- Collection C (All Guests): Low privacy, public access but restricted browsing.
Because each collection lives in its own folder on SnapSeek, you can upload, organize, and share without ever mixing permissions.
Detailed Guest Settings per Collection
When you open a collection and navigate to the Settings tab, you have precise control over how guests interact with that specific folder. Understanding these five toggles is key to mastering privacy:
Browse All Photos: This is your master privacy switch for visibility. Toggle this ON to allow guests to see a “View All” button and browse the entire collection like a traditional gallery. Toggle it OFF if you want guests to see only their own matched photos found via Face Search. This is perfect for large corporate events where guests should not see each other’s photos.
Email Capture: This turns your gallery into a lead generation machine. You can require guests to enter their email address before they can view their matched photos. This is invaluable for building a marketing list for future mini-sessions or holiday promos.
Password Protection: This adds a layer of security to the entire collection. Even if someone has the link, they cannot enter without the code. This is ideal for “VIP” or “Family Only” sub-galleries.
Welcome Message: This isn’t just a greeting; it’s a communication tool. Display a custom message at the top of the guest search page. You can use it to give instructions (e.g., “Upload a selfie to find your photos!”), state usage rights, or simply thank the guests.
Watermark: Apply custom branding to your photos. You might want a prominent watermark on public guest galleries to drive brand awareness, while keeping the couple’s private collection clean and pristine.
These controls let you tailor the experience for each audience without affecting other collections.
Step-by-Step Workflow for Photographers
Here is a practical, field-tested workflow for managing a complex wedding or corporate event using SnapSeek.
Step 1: Set Up the Event Structure
Before you upload a single photo, define your structure.
- Log in to your SnapSeek dashboard.
- Click Create New Event.
- Enter the event details: Name, Date, and Location.
- Think about your “User Groups.” For a wedding, you typically have: The Couple, The Immediate Family, and The General Guests.
Step 2: Build the “Couple-Only” Collection
This is the digital equivalent of the physical wedding album - complete, high-resolution, and private.
- Inside the event, click Add Collection and name it Couple-Only.
- Upload strictly the “A-Roll”: the intimate ceremony shots, the couple portraits, and the getting-ready moments.
- Configure Settings:
- Browse All Photos: Turn ON. The couple wants to see everything.
- Email Capture: Turn OFF. Don’t create friction for your paying clients.
- Password Protection: Turn ON. Set a unique, strong password and share it only with the couple.
- Watermark: Turn OFF. Deliver pristine images.
Step 3: Build the “Guest Gallery” Collection
This is for the reception - the party shots, the group photos, and the candid moments.
- Add another collection named Guest Gallery.
- Upload the broader set of photos: dancing, table shots, and general atmosphere.
- Configure Settings:
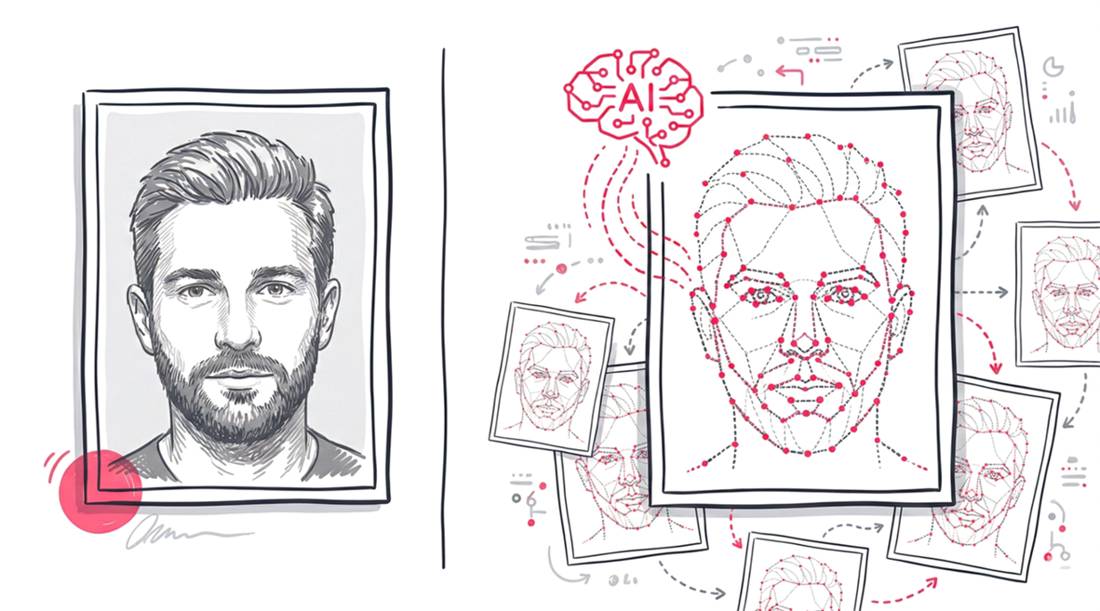
- Browse All Photos: Turn OFF. This is a pro privacy move. It ensures that guests only find their photos using face recognition. It prevents strangers from scrolling through thousands of images they aren’t in.
- Email Capture: Turn ON. This is your opportunity to capture 300+ emails from a single event.
- Welcome Message: Write something engaging: “Welcome! Take a quick selfie to instantly find every photo of you from the night. Don’t forget to tag @YourPhotographyBrand!”
- Watermark: Turn ON. Upload your logo. Now, every shared photo spreads your brand identity across social media.
Step 4: Build a “VIP / Family” Collection (Optional)
Sometimes there is a middle ground - photos that are too private for the general guest list but should be shared with parents or VIPs.
- Create a Family VIP collection.
- Upload the formal family portraits.
- Configure Settings:
- Browse All Photos: Turn ON. Family members usually want to see photos of other family members.
- Password Protection: Turn ON. Use a simpler password.
- Email Capture: Optional. Often better to leave it off for a smoother experience for Grandma.
Step 5: Distribute the Links
You now have three separate links.
- Send the Couple-Only link + password privately via email.
- Print the Guest Gallery link on QR code cards to place on reception tables.
- Send the VIP link to the parents the next day.
Best Practices for Client Communication
The technology is powerful, but how you explain it to your client matters. Here are some tips:
The “Privacy First” approach “I take privacy seriously. I use a system that allows me to separate your intimate couple portraits from the party photos. Your guests will use advanced face recognition to find their own photos, which means they won’t be scrolling through your private moments to find themselves.”
The “Convenience” approach “Your guests won’t have to wait weeks to see photos. I’ll provide a link where they can instantly find every photo they are in just by taking a selfie. It is magic, and they will love it.”
The “Vendor” approach “I can provide a photo gallery that not only distributes images but also collects attendee emails for your post-event follow-up. It turns the gallery into a marketing asset for you.”
Benefits of These Features
Strategically using these settings can also aid your own website and marketing funnel.
- Email Capture builds your “Owned Audience”: SEO is great, but email lists are better. Building a database of 1,000 local event guests allows you to market future services to a warm audience without relying on Google or Instagram algorithms to show your post.
- Browse All & Dwell Time: When you do enable “Browse All” for public events (like marathons or public festivals), it increases the “dwell time” - the amount of time users spend on the page. High dwell time is a positive signal to search engines that your content is engaging.
- Backlinks via Welcome Message: Use the Welcome Message space to add a direct link to your portfolio or blog. “Loved these photos? Check out my full wedding portfolio at [YourWebsite.com].” This drives direct traffic from high-engagement users back to your main domain.
FAQ
1. Can I require emails for one collection but not another?
Yes. Because every collection has its own independent settings, you can enable Email Capture for the “Guest Gallery” while leaving it off for the “Couple-Only” collection. This is the beauty of the system - you don’t have to annoy your main client to get leads from their guests.
2. What happens exactly if I turn “Browse All Photos” off?
When a guest enters the gallery, they will NOT see a grid of unlimited photos. They will only see the search prompt (Selfie Search). Once they search, they will only see the photos that match their face. This ensures maximum privacy for everyone at the event and prevents “lurking.”
3. Can I add a custom message for different languages?
Yes. Since the Welcome Message is customizable per collection, you could create two collections for a multicultural wedding - each in different languages with different messages - if you wanted to go the extra mile.
4. Is the password the same for all collections?
No. You can set a different password for each collection under the Password Protection setting. You can leave the “Guest Party” collection public (no password) for ease of access, while keeping the “Bridal Prep” collection heavily password-protected.
5. If I update the Watermark setting later, does it re-process all images?
Yes, SnapSeek applies settings dynamically. If you decide later that you want to remove the watermark from a specific collection, you can simply toggle it off in the settings, and the images will update for the viewers.
6. Does Email Capture verify the emails?
SnapSeek checks for valid email format. It is a soft gate designed to collect contact info without causing too much friction that would stop grandma from seeing her photos.
Conclusion
By organizing your event photos into dedicated collections and leveraging SnapSeek’s granular guest settings, you can satisfy every stakeholder. You protect the couple’s intimacy, you give guests instant gratification, and you build your own marketing assets - all from one upload.
If you have any questions or need help setting up your event gallery, please reach out to SnapSeek Support.
To try it out, you can sign up for a free account at SnapSeek.